Installing Service Manager 2016 with SQL 2016 on Windows Server 2016
This is the second part of a blog post series called “Installing Service Manager 2016” and will cover how to install Service Manger 2016 and SQL Server 2016 on Windows Server 2016 with Desktop Experience.
- Installing Service Manager 2016 Part 1: What’s new
- Installing Service Manager 2016 Part 2: Primary Management Server (this post)
- Installing Service Manager 2016 Part 3: Self Service Web Portal
- Installing Service Manager 2016 Part 4: Data Warehouse Management Server
- Installing Service Manager 2016 Part 5: Scripting the installation
In this blog post series I will describe the installation of Service Manager 2016 based on a pretty simple 3 computer scenario. The first computer hosts the Service Manager management server as well as the Service Manager database. The second computer hosts the Self Service Web Portal and the third one the data warehouse management server and the Data Warehouse databases.
This configuration is - in my opinion - also perfectly fine for a small production environment. One might say that the Service Manager database should not be installed on the primary management server for performance and availability reasons. However when using a computer with enough horse power, this shouldn’t be an issue. Furthermore the primary management server which runs all the Service Manager workflows is kind of a single point of failure. If this server goes down, your Service Manager environment is basically out of order and in this case its probably not an issue if the database is not available as well. But of course you are free to use separate database servers for both Service Manager and Data Warehouse databases. Service Manager 2016 does also support SQL AlwaysOn availability groups.
Note that the amount of memory is critical in terms of performance. If you deploy an instance of SQL Server, Service Manager management server, and Service Manager console to the same virtual machine, the memory requirements are cumulative. See Hardware Requirements for System Center 2016 - Service Manager for more information.
If you do not need reporting services, you can - at an absolute minimum - install Service Manager on one computer that hosts both the Service Manager management server, the Service Manager database as well as the Self Service Portal.
Note that installing the Self Service portal on the same computer as the primary management server is not recommended by Microsoft. Do not use this configuration in production environments.
Of course, Service Manager setup depends on some prerequisites. So before starting with Service Manger 2016 installation, we need to make sure that these are installed. The following prerequisites are needed to successfully install Service Manager 2016:
- .NET Framework 3.5
- Report Viewer 2008
- SQL Server 2014 Analysis Management Objects
- SQL Server 2012 Native Client
Besides installing the above mentioned prerequisites, you will need three service accounts for this setup, where the Service Manager Service Account has to be member of the local administrators group:
- SQL Server Service Account
- Service Manager Service Account
- Service Manager Workflow Account
It is also recommended to create an Active Directory group which can be used to specify Service Manager Management Group Administrators. See Accounts Required During Setup for more information about needed accounts and groups.
Important: Make sure that you run Service Manager setup with a domain user which has appropriate permissions on the corresponding SQL server instance (sysadmin) as well as local administrator permissions for the server where you are installing Service Manager.
Install SQL Server 2016
We will get started by installing SQL Server 2016. Basically Service Manager is doing pretty good with an ordinary SQL instance. However, Service Manager is heavily dependent on SQL Server performance. I am no SQL expert and will not go into any details about SQL Server tuning. I recommend reviewing your production SQL installation for best practices and performance bottlenecks with a SQL expert to get the best out of your Service Manager environment.
There are nevertheless some things which have to be mentioned in terms of SQL requirements. First of all install SQL Server 2016 with the Full-Text and Semantic Extractions for Search feature enabled. 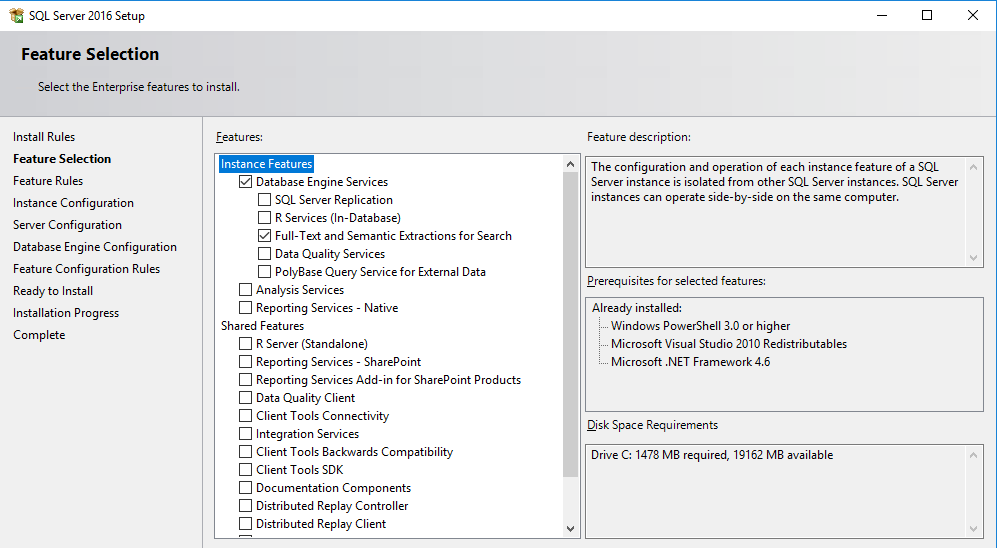
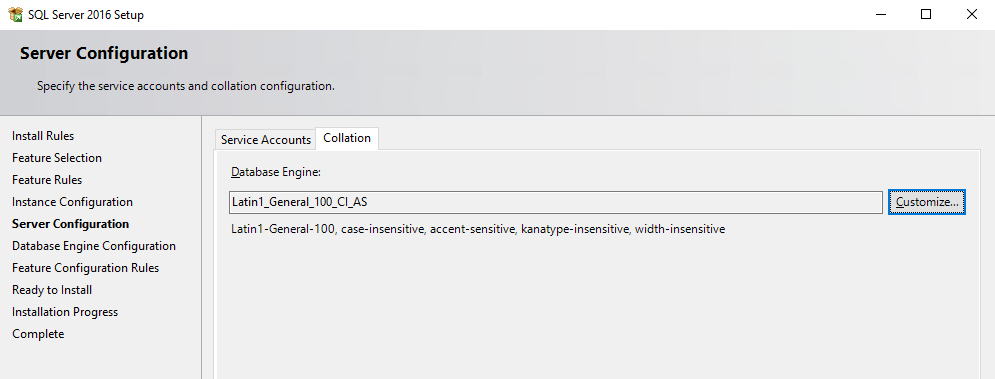
Service Manager is somewhat touchy when it comes to SQL collations. I recommend reading Clarification on SQL Server Collation Requirements for System Center 2012 and this article on serverfault.com regarding collation settings.
Most people probably will be fine with _Latin1_General_100_CI_AS _which is recommended for Latin based languages like English, German, Italian, Portuguese and Dutch. However be sure to check Language Support for System Center 2012 - Service Manager for the appropriate collation used with your language.
Important: Support for multiple languages in Service Manager is not possible when you are using the default collation (SQL_Latin1_General_CP1_CI_AS). If later you decide to support multiple languages using a different collation, you have to reinstall SQL Server.
Install Prerequisites
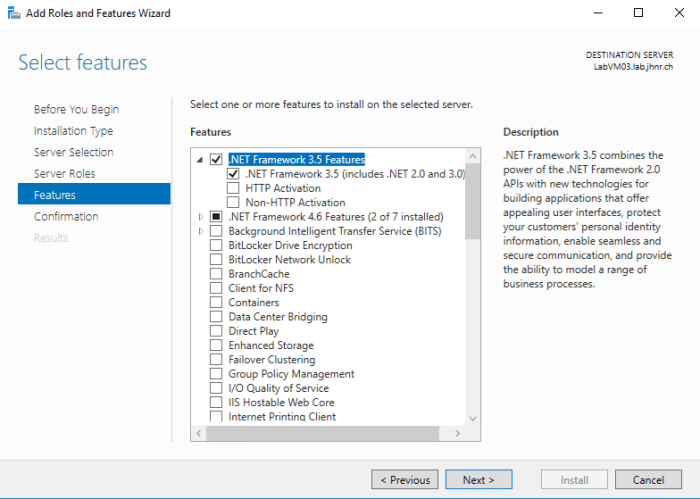
After installing SQL Server we will now start installing necessary prerequisites. Although Service Manager 2016 now supports .NET Framework 4.5.1, you will need to install version 3.5. Setup wizard will tell you if .NET Framework 3.5 is missing and you will not be able to continue the setup process.
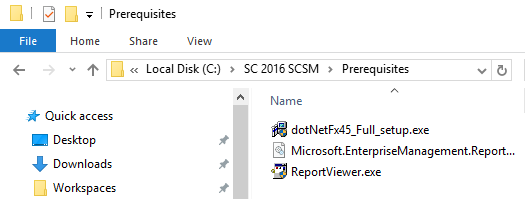
Besides .NET Framework, you will need to install Microsoft SQL Server 2014 Analysis Management Objects (AMO) which you can get from here (watch out for SQL_AS_AMO.msi) and of course Report Viewer 2008 which can be found on the Service Manager installation media in the prerequisites folder.
You may need to install SQL Server 2012 Native Client as well if your SQL Server is installed on another computer (which is not the case in this scenario). Don’t worry because the setup wizard will tell you to do so when installing Service Manager on a separate server. If you need SQL Server 2012 Native Client you can get it from here (watch out for sqlncli.msi)
Install Service Manager 2016
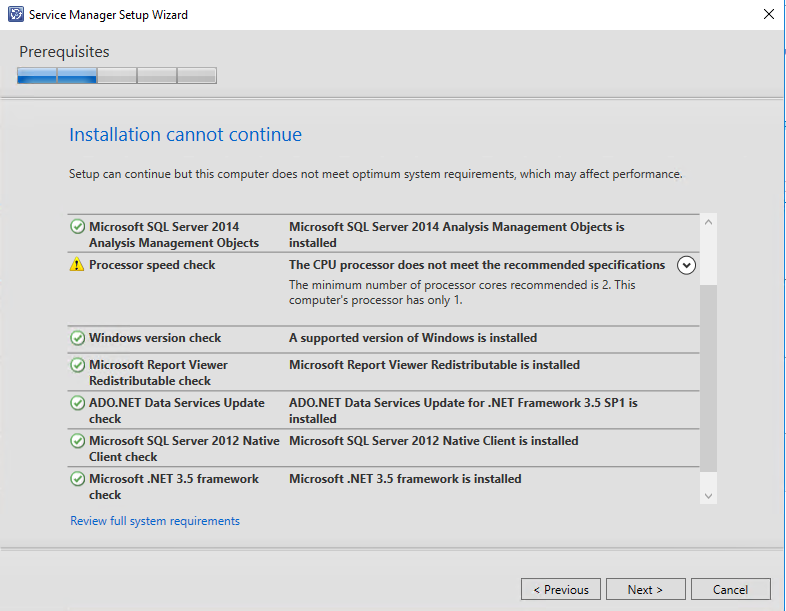
Now let’s get started with Service Manager setup! If you installed all the necessary prerequisites, you should see a similar screen after entering product key and continuing in the setup wizard.
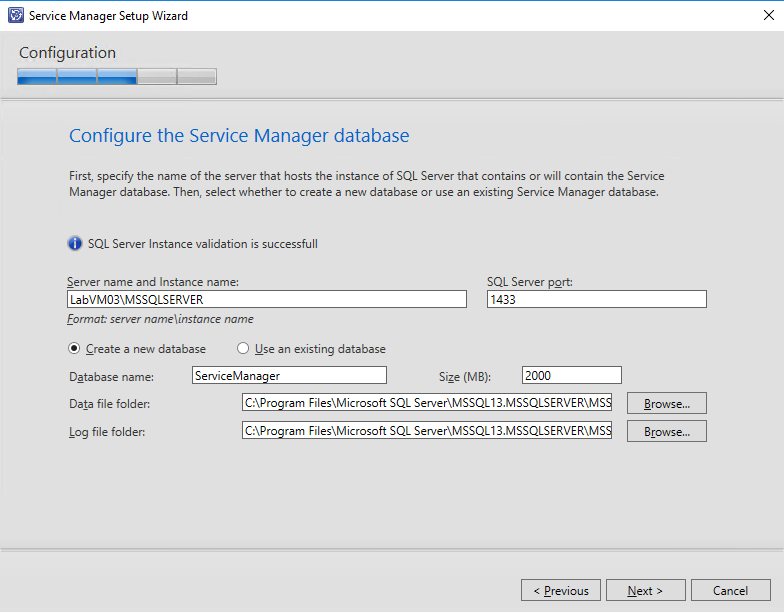
Next specify SQL Server and Instance name where Service Manager should create its database. Make sure that corresponding ports are open when using a separate SQL Server with firewall enabled. This should not be a problem in this scenario since SQL server is installed on the same computer. Note that since Service Manager 2016, setup also supports SQL AlwaysOn installations.
Note that if you are using the default collation (SQL_Latin1_General_CP1_CI_AS), a warning message appears which you should read carefully. As stated in the beginning of this post, support for multiple languages in Service Manager is not possible when using the default collation
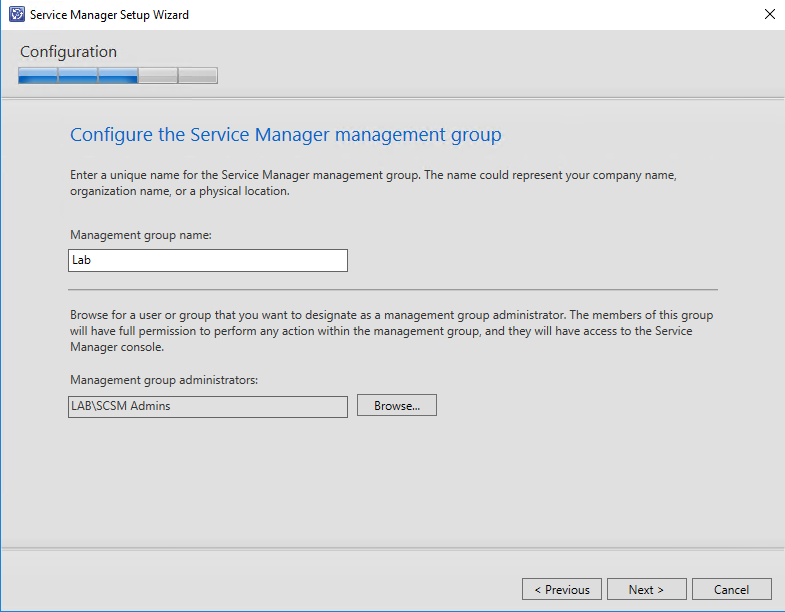
Next up we will define the name of the new Service Manager management group. Management group names must be unique.
Important: Do not use the same management group name even when you are deploying a Service Manager management server and a Service Manager data warehouse management server. Furthermore, do not use the management group name that is used for Operations Manager.
Besides the management group name, you also want to specify a management group administrators group.
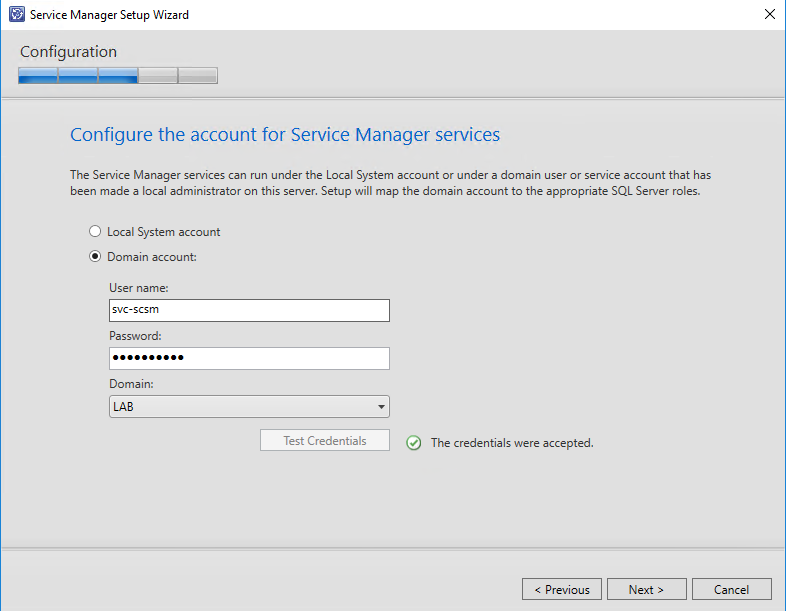
Now enter the credentials of the Service Manager Service Account. The specified account becomes the Operational System Account. It will be assigned to the logon account for the System Center Data Access Service as well as for System Center Management Configuration service. Note that the Service Account has to be member of the computers local administrators group.
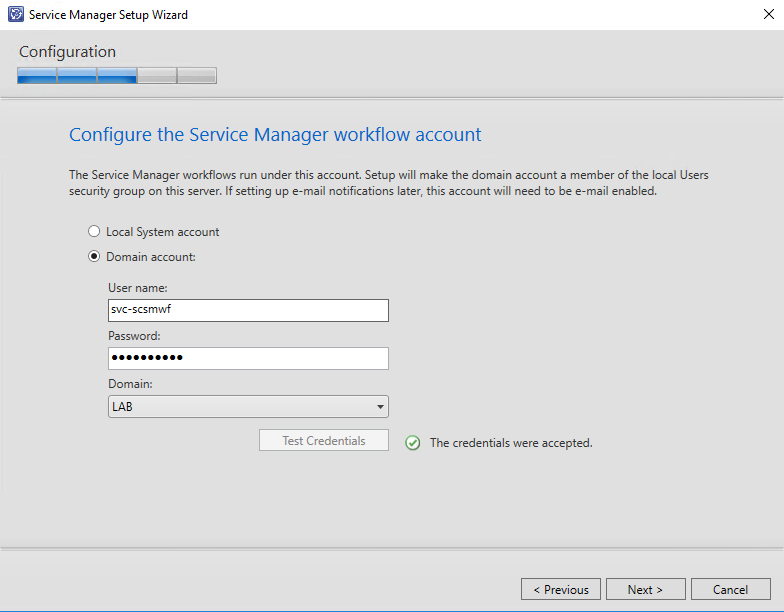
Next step is to enter the credentials of the Service Manager Workflow Account. This account is used for all the workflows and is made a member of the Service Manager Workflows user role.
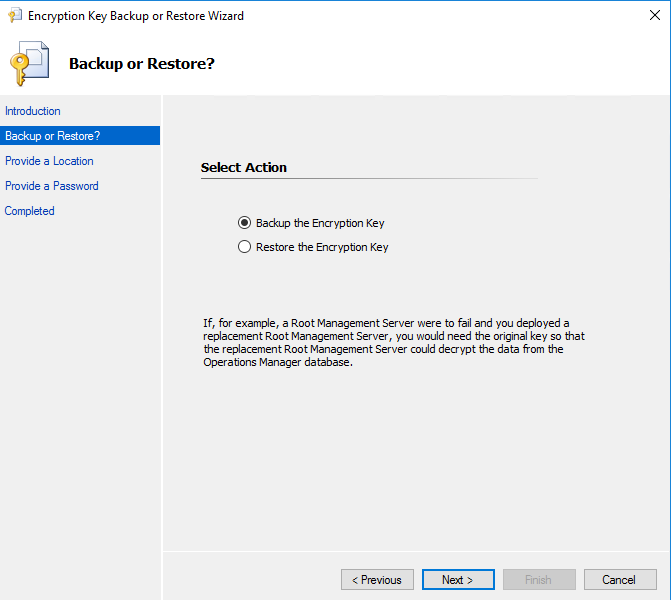
If everything went well the setup process does complete successfully within several minutes and you should be presented with the option to backup the encryption keys. This is highly recommended since the encryption key is used to encrypt sensitive information and is required to perform a management server restore!
That’s pretty much it. There is one final step we need to perform and this is setting the SPN’s (Service Principal Names) for Service Manager. Basically Service Manager setup tries to register these SPN’s but it will always fail to do so because the specified Service Account does (hopefully) not have administrative permissions. Refer to Configure the Kerberos for SCSM 2012 (SPN and delegation) published by Anton Gritsenko for more detailed information about Service Manager and SPN’s. The post was originally written for Service Manager 2012 but its content is still valid for Service Manager 2016.
Assuming that you configured an Active Directory account as Service Account, create necessary SPN’s like the following for each Service Manager management server:
setspn.exe -S MSOMSdkSvc/LabVM03 Lab\svc-scsm
setspn.exe -S MSOMSdkSvc/LabVM03.lab.jhnr.ch Lab\svc-scsm
setspn.exe -L Lab\svc-scsm
Registered ServicePrincipalNames for CN=SCSM Service Account,CN=Users,DC=lab,DC=jhnr,DC=ch:
        MSOMSdkSvc/LabVM03.lab.jhnr.ch
        MSOMSdkSvc/LabVM03
That’s it for now. Start the Service Manager console which was installed by the setup and get your first impressions of System Center Service Manager 2016.
Stay tuned for Part 3 of the blog post series “Installing Service Manager 2016” where I will describe how to install the Self Service Portal on a secondary management server.

