Installing Service Manger 2016 Self Service Portal
This is the third part of a blog post series called “Installing Service Manager 2016” and will cover how to install a secondary Service Manger 2016 management server and the HTML based Self Service portal on Windows Server 2016 with Desktop Experience.
- Installing Service Manager 2016 Part 1: What’s new
- Installing Service Manager 2016 Part 2: Primary Management Server
- Installing Service Manager 2016 Part 3: Self Service Web Portal (this post)
- Installing Service Manager 2016 Part 4: Data Warehouse Management Server
- Installing Service Manager 2016 Part 5: Scripting the installation
In this blog post series I will describe the installation of Service Manager 2016 based on a pretty simple 3 computer scenario. The first computer hosts the Service Manager management server as well as the Service Manager database. The second computer hosts the Self Service Web Portal and the third one the data warehouse management server and the Data Warehouse databases.
Of course there exists already a pretty good manual on how to install the HTML based Self Service portal. However there are some points I want to highlight when installing the Service Manager portal.
For example the installation manual states that you should install the Self Service portal _ideally, on the primary or secondary server. _Well, that does not seem to be 100% correct because in some other scenarios (e.g. in this install instructions of a Self Service portal upgrade fix) Microsoft does explicitly advises against installing the portal on the primary management server.
Installing the Self Service portal on the same computer as the primary management server is not recommended.
So for the sake of completeness I will outline the installation of a secondary management server as well as the following installation of the Self Service portal.
If you are performing an in-place upgrade to Service Manager 2016 Self Service Portal, when Service Manager 2012 R2 HTML based Self Service Portal (Update Rollup 8) is installed on the same machine as Service Manager management server, please make sure you install this Service Manager Self Service Portal upgrade fix.
Install Service Manager Prerequisites
To be able to install a secondary Service Manager management server, we first need to make sure that some prerequisites are available. Basically the same prerequisites as for a primary management server have to be installed:
- .NET Framework 3.5
- Report Viewer 2008
- SQL Server 2014 Analysis Management Objects
- SQL Server 2012 Native Client
Check out the prerequisites section of the Installing Service Manager 2016 with SQL 2016 on Windows Server 2016 blog post for more detailed information about installing necessary prerequisites.
Besides the above mentioned software perquisites, the Service Manager Service Account has to be member of the local Administrator group as we already know it from installing our primary server.
Install Service Manager 2016
Now let’s get started with Service Manager setup! If you installed all the necessary prerequisites, you should be good to go after entering product key and a successful prerequisite check.
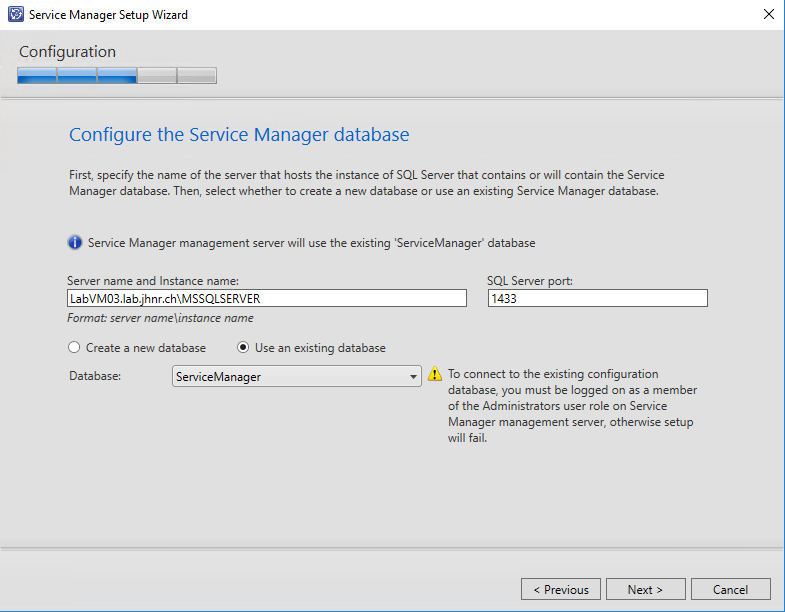
Next specify SQL Server and Instance name where this secondary management server should connect to.
If the firewall on your SQL server is active, you will need to disable it or even better to create an appropriate inbound rule like the following to allow the installer to find the given SQL instance:
New-NetFirewallRule -DisplayName “SQL Server” -Profile Domain -Direction Inbound –Protocol TCP –LocalPort 1433 -Action allow
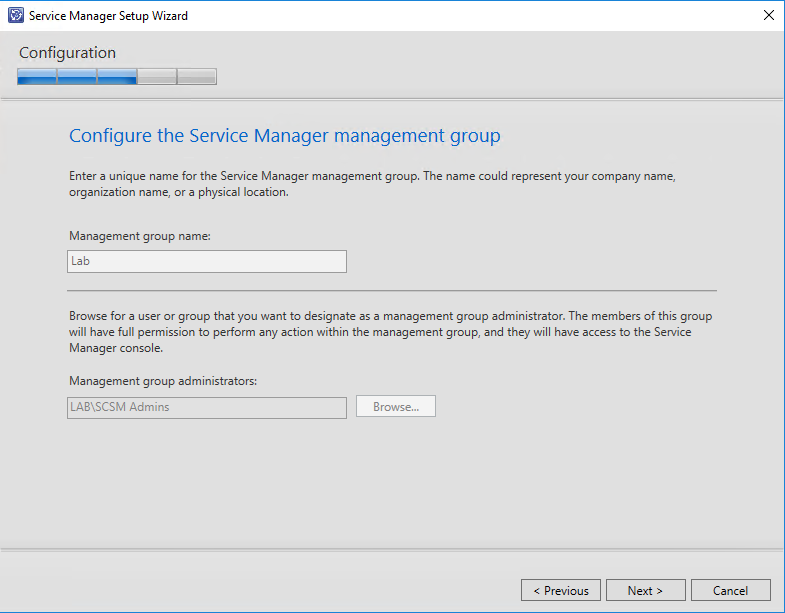
Next up we will presented the management group name and management group administrators of the existing Service Manager environment
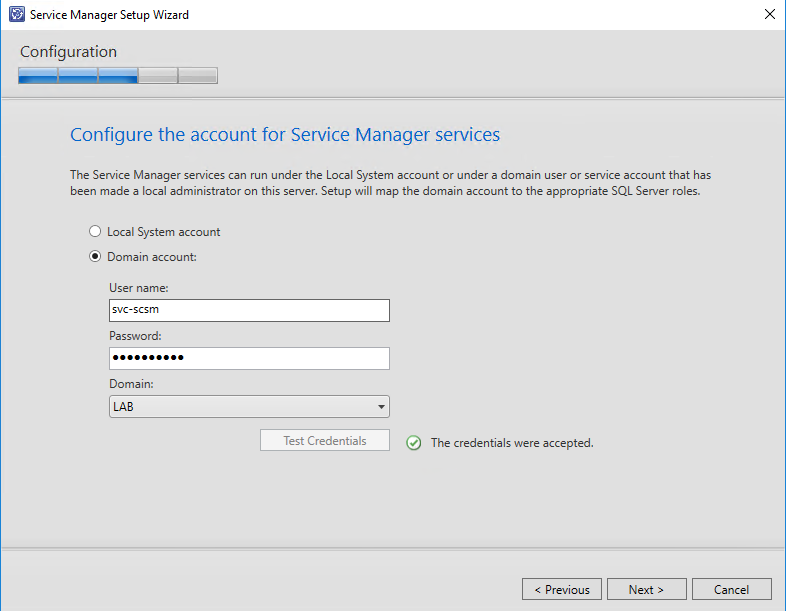
Now enter the credentials of the Service Manager Service Account. The specified account becomes the Operational System Account. It will be assigned to the logon account for the System Center Data Access Service as well as for System Center Management Configuration service. Note that the Service Account has to be member of the computers local administrators group.
That’s pretty much it for the installation of a secondary management server. You do not necessarily need to backup your encryption key since we already did that when installing our primary management server.
There is one final step we need to perform and this is setting the SPN’s (Service Principal Names) for Service Manager as we already did for our primary management server. Refer to Configure the Kerberos for SCSM 2012 (SPN and delegation) published by Anton Gritsenko for more detailed information about Service Manager and SPN’s. The post was originally written for Service Manager 2012 but its content is still valid for Service Manager 2016.
Assuming that you configured an Active Directory account as Service Account, create necessary SPN’s like the following for each Service Manager management server:
setspn.exe -S MSOMSdkSvc/LabVM04 Lab\svc-scsm
setspn.exe -S MSOMSdkSvc/LabVM04.lab.jhnr.ch Lab\svc-scsm
setspn.exe -L Lab\svc-scsm
Registered ServicePrincipalNames for CN=SCSM Service Account,CN=Users,DC=lab,DC=jhnr,DC=ch:
        MSOMSdkSvc/LabVM04.lab.jhnr.ch
        MSOMSdkSvc/LabVM04
        MSOMSdkSvc/LabVM03.lab.jhnr.ch
        MSOMSdkSvc/LabVM03
You should now have SPNs configured for all of your Service Manger management servers (two in this scenario).
Install Self Service Portal Prerequisites
To be able to install the Service Manager Self Service Portal you will first need to make sure that some prerequisites are present. Basically you need to install IIS Web Server as well as some additional IIS features. Run the below PowerShell commands to make sue that the required roles and features are present.
[string[]]$Features = @(
	"Web-Server",				# Web Server (IIS)
	"Web-ASP",				# ASP
	"Web-Asp-Net45",			# ASP.NET 4.6
	"Web-Basic-Auth",			# Basic Authentication
	"Web-Windows-Auth",			# Windows Authentication
	"Web-Net-Ext45",			# .NET Extensibility 4.6
	"Web-Mgmt-Tools",			# Management Tools
	"Web-Mgmt-Console",			# IIS Management Console
	"NET-WCF-HTTP-Activation45"		# HTTP Activation
)

$Result = Add-WindowsFeature $Features
$Result.ExitCode
Success
Install Service Manager Self Service Portal
As you may know, there exist various 3rd party vendors out there which make use of the Service Manager API to provide a very own portal experience for Service Manager.
This really gives you the flexibility to choose from a variety of portal solutions besides the out of the box portal. Other Self-Service portal solutions are offered by itnetX as well as Cased Dimensions and Cireson which offers a free community edition of their portal. However you will have to decide for your self what solution suits your needs best. For this post I will concentrate on the Service Manager out of the box portal which was introduced with Service Manger 2012 R2 UR8.
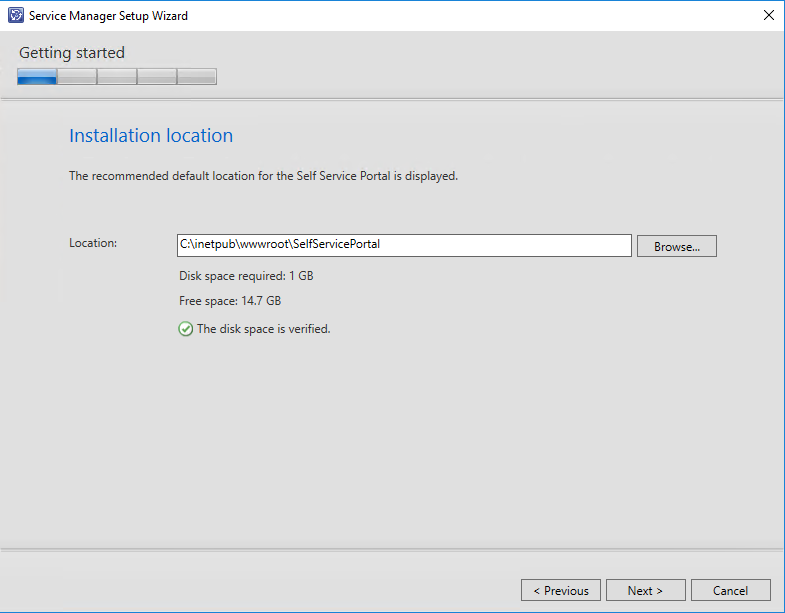
After choosing the Self Service Portal installation option in the Service Manager installer overview, you should be able to provide the directory for the portal installation.
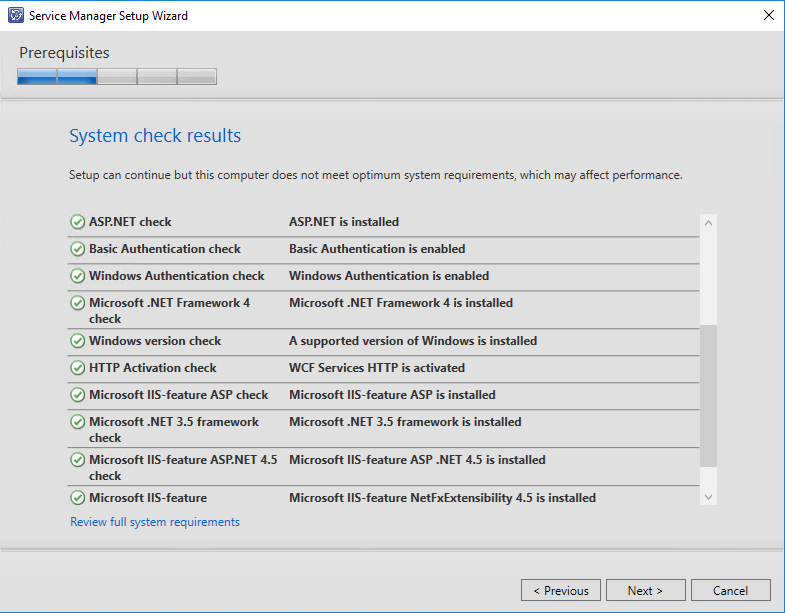
Now if you installed all the necessary prerequisites, you should be good to go after a successful prerequisite check.
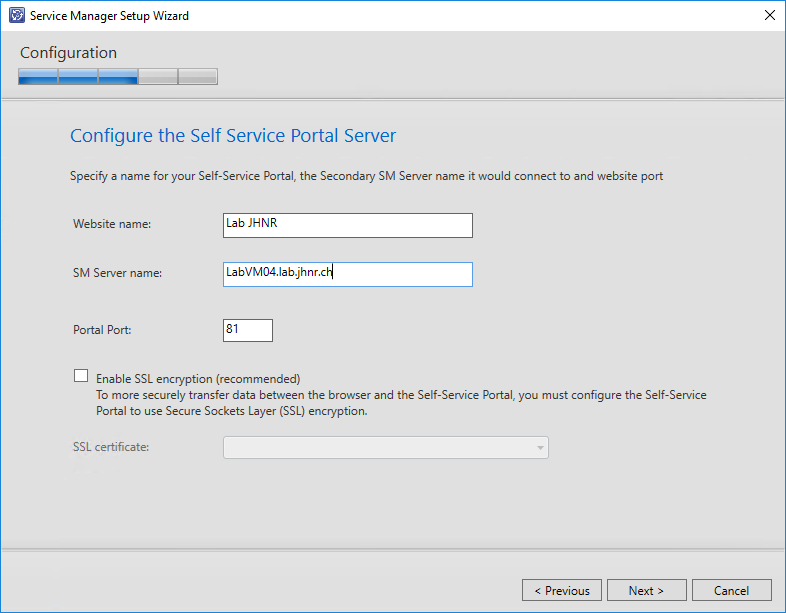
Next up you will need to specify the IIS website name as well as the Service Manager server name which will be in this case the FQDN of your local server. It is recommended that you use a dedicated secondary Service Manager management server on which you install the Self Service Portal.
If you want to install new Self Service Portal on port 80, you must first move the default website in IIS to a different port, otherwise the installer will not let you specify port 80 for the Self Service Portal. However you can of course install the portal on a different port and change bindings after installation is complete.
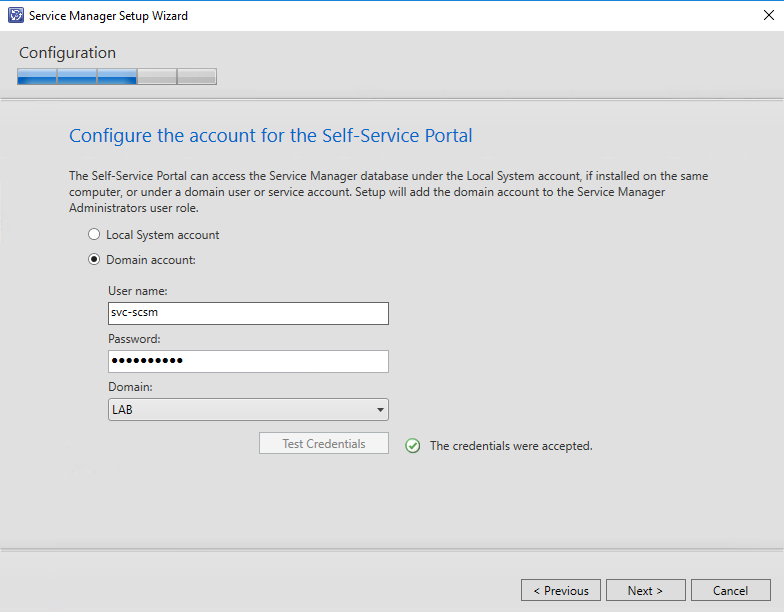
Now enter the credentials of either the Service Manager Service Account or a specific Self Service Portal Service Account. The specified account. Note that the specified account will be added to the Service Manager Administrators user role.
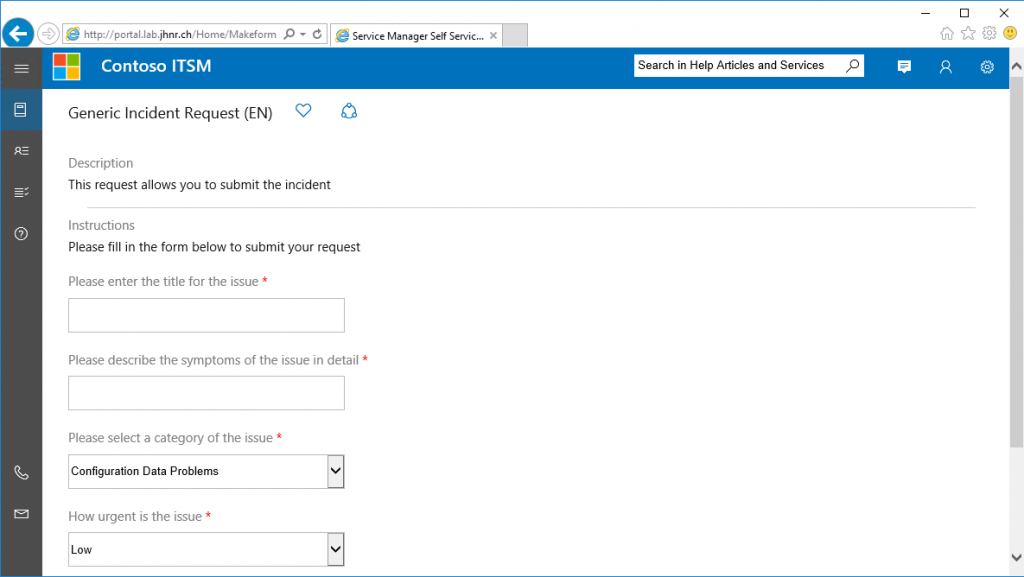
That’s it for now. After the installation finishes you may start the Service Manager portal which can be found under the specified port and get your first impressions of System Center Service Manager 2016 Self Service portal.
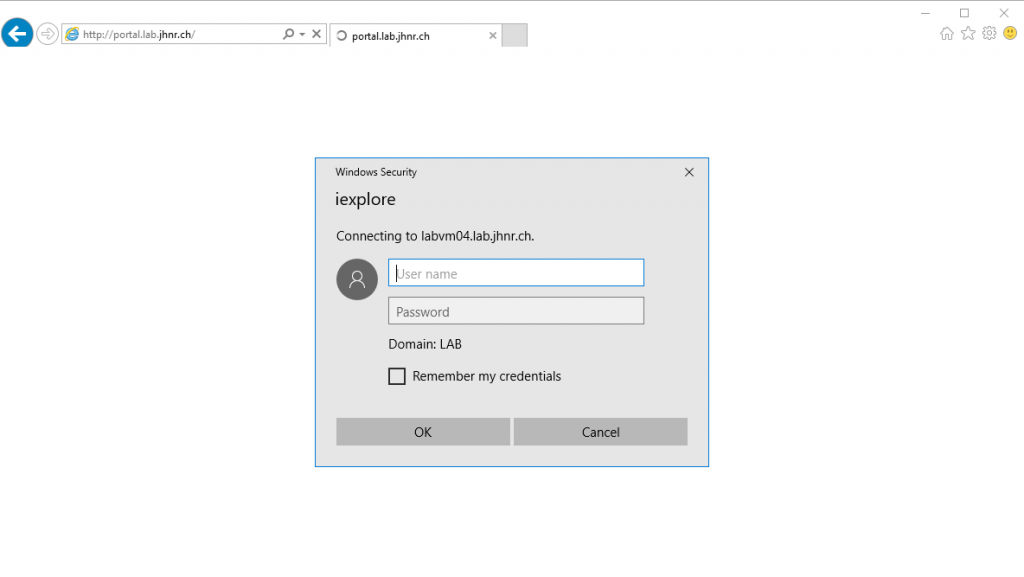
It may happen that when you access the portal website by using the portal server FQDN, you are presented with an authentication dialog. Just make sure that the portal URL is added to your browsers trusted sites.
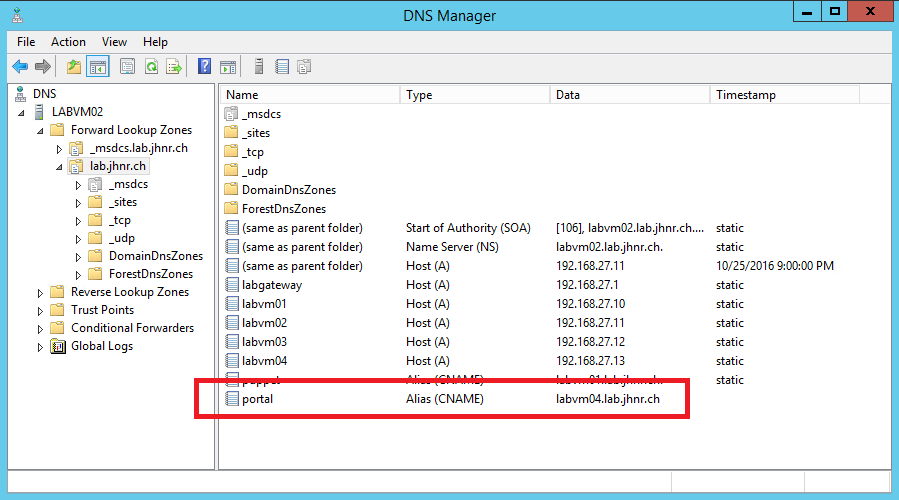
A common thing to consider after installation is to create a DNS CNAME to give the portal a nice and memorable URL. That’s actually achieved pretty easily by creating a CNAME in your DNS which points to the portal server.
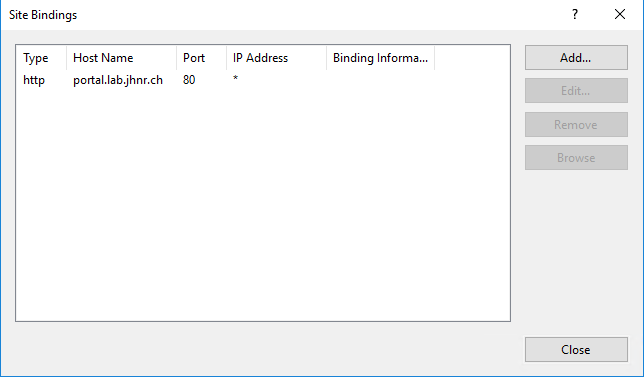
If you did install the portal on a different port than 80 you may want to change that so users do not have to enter port number when accessing the portal website. By specifying a Host Name for the portal website you are able to run other websites on this web server if necessary.
If you are thinking about changing the look of your Self Service Portal make sure that you check out the following blogs which give a very good overview on how to customize various parts of the portal:
- Basic UI customization in the new Self Service Portal (HTML5)
- Customizing the Service Manager HTML5 Portal
Stay tuned for Part 4 of the blog post series “Installing Service Manager 2016” where I will describe how to install the Service Manager Data Warehouse.

