Setup Apple Time Machine network drive with Samba on Ubuntu 22.04
During christmas vacations I added a Time Machine network drive for the backup of my MacBook to my Ubuntu 22.04 based home server.
For this you will need samba and avahi-daemon packages. Basically Samba shares the network drive and avahi makes it work with apple devices by implementing Apple’s Zeroconf architecture (also known as “Rendezvous” or “Bonjour”).
Finding the right samba configuration took me a while, but with the approach below the network drive automatically showed up in the Time Machine settings and I was able to add it as a Time Machine backup location on my MacBook running MacOS Ventura.
First of all you need a working samba configuration. I had samba version 4.15.9 already installed on my server so I just needed to extend the existing configuration. If you need to start from scratch check out this manual on how to install samba on Ubuntu.
To make Samba work better with MacOS you can use the vfs_fruit module. It provides enhanced compatibility with Apple SMB clients and interoperability with a Netatalk 3 AFP fileserver.
vfs_fruit module is part of Virtual FileSystem (VFS) modules. You will have to install samba-vfs-modules to make use of the vfs_fruit and other modules that extend the functionality of Samba:
sudo apt install samba-vfs-modulesI ended up with the following working samba configuration.
#======================= Global Settings =======================

[global]
# Fruit global config
  fruit:aapl = yes
  fruit:nfs_aces = no
  fruit:copyfile = no
  fruit:model = MacSamba

# Permissions on new files and directories are inherited from parent directory
   inherit permissions = yes

# Change this to the workgroup/NT-domain name your Samba server will part of
   workgroup = WORKGROUP
# Samba will automatically "register" the presence of its server to the rest of the network using mDNS. Since we are using avahi for this we can disable mdns registration.
   multicast dns register = no

# Server string is the equivalent of the NT Description field
   server string = %h server (Samba, Ubuntu)

# Protocol versions
  client max protocol = default
  client min protocol = SMB2_02
  server max protocol = SMB3
  server min protocol = SMB2_02

# This tells Samba to use a separate log file for each machine that connects
   log file = /var/log/samba/log.%m

# Cap the size of the individual log files (in KiB).
   max log size = 1000

# We want Samba to only log to /var/log/samba/log.{smbd,nmbd}.
# Append syslog@1 if you want important messages to be sent to syslog too.
   logging = file

# Do something sensible when Samba crashes: mail the admin a backtrace
   panic action = /usr/share/samba/panic-action %d

#======================= Share Definitions =======================

[timemachine]
  # Load in modules (order is critical!)
  vfs objects = catia fruit streams_xattr
  fruit:time machine = yes
  fruit:time machine max size = 300G
  comment = Time Machine Backup
  path = /mnt/timemachine
  available = yes
  valid users = timemachine
  browseable = yes
  guest ok = no
  writable = yes
Now network computer discovery is a bit separate from the actual file-sharing connection. To make the network drive visible in the network the avahi-daemon needs to installed on the server. Since mdns registration is disabled in smb.conf an avahi config is needed that will do the broadcasting itself independent of Samba. If needed, you can change the Finder icon with txt-record in the second service entry.
The third service definition is needed to announce the Time Machine network share. Make sure that you adjust the txt-record to represent the name of your Time Machine Samba share definition. In my case timemachine.
Add the following avahi config file:
sudo nano /etc/avahi/services/samba.service<?xml version="1.0" standalone='no'?>
<!DOCTYPE service-group SYSTEM "avahi-service.dtd">
<service-group>
<name replace-wildcards="yes">%h</name>
<service>
<type>_smb._tcp</type>
<port>445</port>
</service>
<service>
<type>_device-info._tcp</type>
<port>0</port>
<txt-record>model=TimeCapsule8,119</txt-record>
</service>
<service>
<type>_adisk._tcp</type>
<txt-record>dk0=adVN=timemachine,adVF=0x82</txt-record>
<txt-record>sys=waMa=0,adVF=0x100</txt-record>
</service>
</service-group>After restarting avahi-daemon the network drive is visible for Time Machine backup on the MacBook.
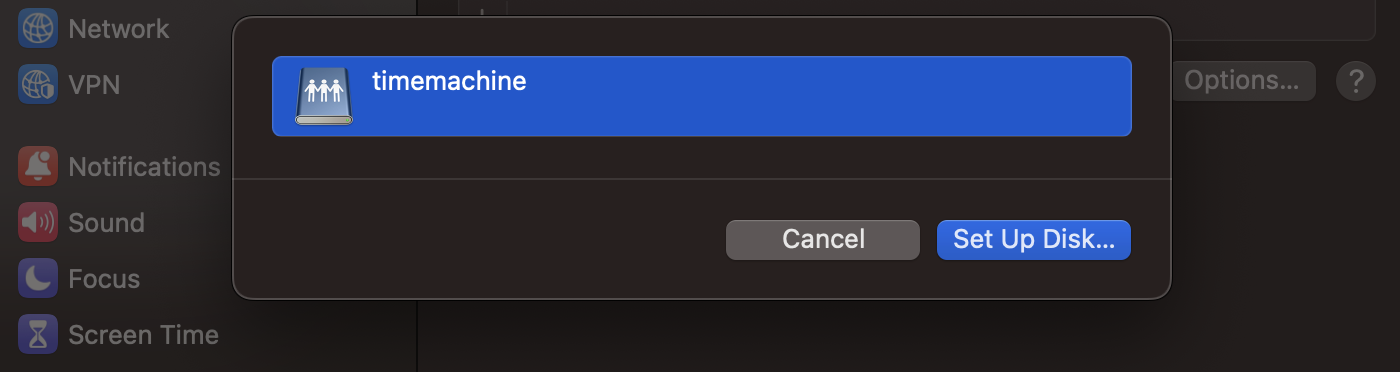
If you encountered this dialog
“You do not have the necessary read, write and append privileges on the selected network backup disk.”
the timemachine dir on the destination filesystem needs to be chown’d to the user that’s connecting. Might also need to be chmod -R ug+rw. Thanks Paul Hammant for the hint!